PowerPoint is my slave!
|
|||||||||
Shalu Wasu | Mar 09, 2010
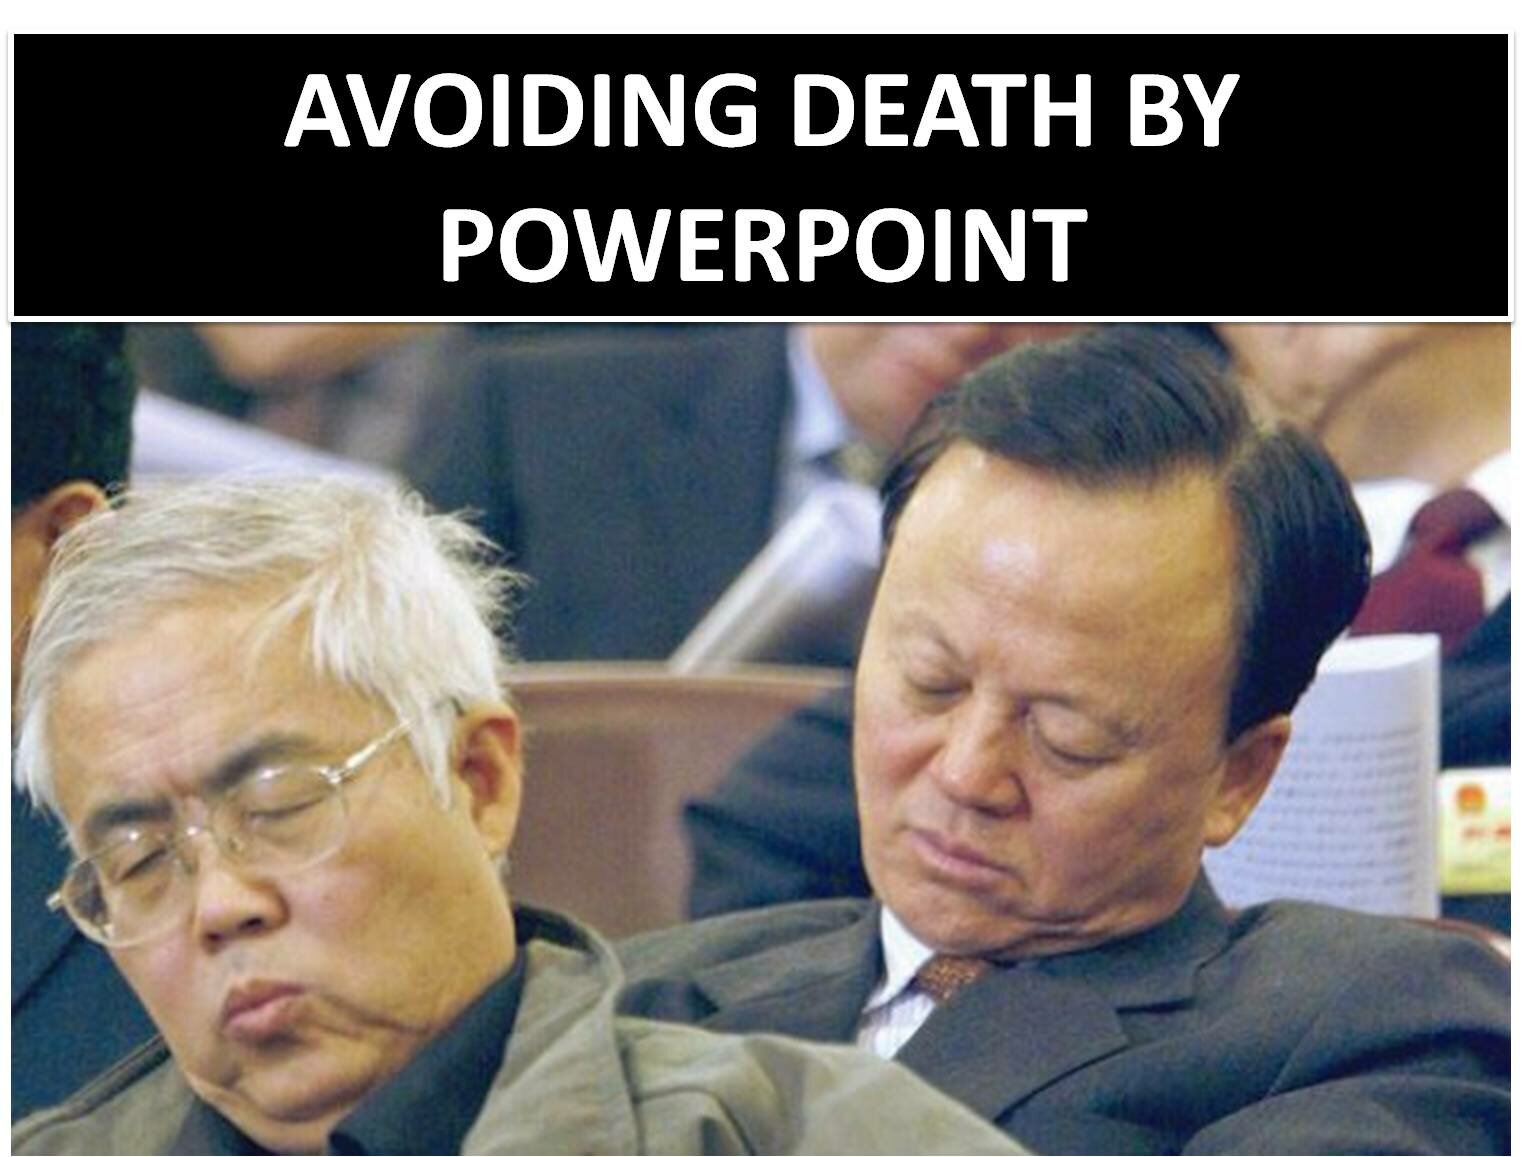
 My earlier article ‘Avoiding Death by PowerPoint’ was about the art of making interesting presentations. This one is about using easy but powerful tricks that can dramatically improve the quality of your presentations and also bring that extra oomph that is needed for any presentation to stand out. Here are some tricks that I use in my presentations. I hope you will find some useful stuff here.
1. Get the audience to stop looking at the screen IMMEDIATELY.

There are times when you feel that you are losing the audience Рwhen ironically they are too busy checking out your wonderful slide! You are about to make an important point and you want the audience to focus on what YOU are saying and not look at the slide that you have put up! The solution is simple – press the key ‘B’ for the screen to go black or ‘W’ for the screen to go white. All heads will turn towards you! Hit ‘B’ or ‘W’ again to bring back the slide show.
2. Know how the slides will behave when you are making them!
When I am preparing a presentation, I do like to check how the slide will behave in the slide show mode. The fastest way to check out the slide is to hold down the CTRL key while clicking the slide show view button; this will open a tiny preview window showing that slide in slide show mode.
3. Draw on the screen for a dramatic effect!
Sometimes it can be valuable to be able to draw on the screen during your presentation to illustrate a particular point or item. Press the Ctrl-P key together to display a pen on the screen. Then, using the mouse, draw on the slide as you wish. To erase what you have drawn, press the E key. To hide pen, press the Ctrl-H key combination. This one is my favourite! It is simple, is very effective and it usually leaves the audience dazzled!
4. Insert YouTube Videos in your presentation
Inserting regular videos in presentations is simple, but how about YouTube videos? Using videos at any stage in your presentation can liven things up very quickly! Since YouTube is the biggest repository of videos, once you are able to insert YouTube videos you will never be short of an interesting video for your presentation. Here is how to go about it.
- Identify the video and the url on YouTube
- Go to www.mediaconvertor.org and paste the url
- Follow the simple instructions to download and save the file (download it in the AVI format)
- That’s it! Now you can insert this video like any other normal video. (Insert ‚Äì> Movie ‚Äì> “Movie from file” to put the YouTube video in the current slide)
5. Oh! But I never received the ppt.
 If you are tired of people telling you that they never received the ppt file which you had emailed to them for the third time, probably the size is too high and cannot go through their mail box! If zipping up the file is not helping, try changing the BMP files to JPEGS. Sometimes, as you’re working on a presentation, you’ll notice that the file seems to get bigger for no reason. To get rid of this “bloating”, save the file using “File/Save As” and give the file a new name. ¬†This can reduce the file size up to 50%.
6. Use any symbol you want
Till recently I was not able to insert these and then I came across this simple solution!
- To insert the copyright © symbol, enter (c).
- To insert the Trademark ‚Ñ¢ symbol enter ™.
- To insert the registered ® symbol enter (r).
You can make your own special symbol shortcuts in Tools > AutoCorrect (copy from character map and paste into replace with…).
7. Leave handouts when you finish but make them special
In ‘Avoiding Death by PowerPoint’ I recommended never distributing handouts before the presentation. In the same article I also pushed for slides with little or no text (only pictures). It may be a great idea though to leave a handout that would reinforce or strengthen your key points. Now, slides with no text are great for presentations but do not make good handouts! I like sending my PowerPoint slides to MS Word and then creating my handouts (if any). Here is how to go about it.
1. Choose Send To from the File menu.
2. Select Microsoft Office Word from the resulting submenu.
3. In the Send To Microsoft Office Word dialog, choose the Outline Only option to send only the content.
4. Click OK.
Once your content is in Word, you can apply formatting and printing options that aren’t available to you in PowerPoint.
If you use PowerPoint 2007, you can use the Publish command to send content to Word. Choose Publish from the Office menu and then choose Create Handouts In Microsoft Office Word.
8. Confused between different versions of the same presentation? Identify differences in a jiffy. (This trick does not work in PowerPoint 2002/XP)
Many times, I end up with multiple versions of the same presentation – modified for different audiences/occasions. So much so that I forget what were the changes made in each of the versions. This is the easy way out.
- Load both presentations into PowerPoint.
- Make sure you’re on normal slide view (edit mode).
- And both presentations are on page one.
- Set the page zoom to “Fit”.
- Here’s the interesting part . . . Hold down the CTRL key.
- Press the “Tab” key.
- Press it repeatedly or even hold it on.
- Any changes between the two presentations will stand out like a sore thumb!
- You can repeat for all slides.
9. A great looking summary or opening slide in no time!
1. Open your presentation in PowerPoint.
2. Click the “View” menu.
3. Select “Slide Sorter”.
4. PowerPoint will then display a miniature view of all your slides in your presentation. You may like to choose a smaller viewing size to display all your slides. This is done by clicking the “edit” menu, select “zoom” or by clicking the “zoom” button Then enter a really small number, like 25.
5. Select every slide that you would like to include in the summary slide:
To select multiple slides, press and hold: – use the “shift” key for PowerPoint 97 – use the “Ctrl” key for PowerPoint 2000 2002 XP while you select the slides you would like to include with the left mouse button
6. When you have selected all the slides. Click the “Summary Slide” button.
7. PowerPoint will then create a summary slide from all the “titles” of the slides you selected. It will be placed in front of the first slide that you selected.
Unfortunately, this feature does not exist in Office 2007. If you use office 2007, you will need to create a summary slide manually.
10. Changed you mind about the case (upper case/ lower case)? Avoid any rework.
I often start by using upper case in my presentations only to change my mind later and switch to lower case. But I no longer need to do any rework! To save rewriting all the text again in the correct case, PowerPoint has a handy function to help you cycle through various case settings of your selected text until your text is as you wish it to be.
To change the case settings of your text:
- Select the text.
- Press Shift+F3
- Continue to press Shift+F3 until the correct case settings appear on your text, for example, ALL CAPS, or ALL LOWER CASE, or grammatically correct text.
11. Oh! As I mentioned on slide 21…(which was 42 slides ago)
While making a presentation there may be occasions when you need to refer to an earlier slide. Usually that means pressing the back key many times till you reach the desired slide. This process is clumsy and not professional and can distract the audience. Here is the solution:
Hit the slide number you want to display and press ‘Enter.’ Note down the current slide number to use when you want to resume the slideshow (good idea to keep a printout of your slideshow for slide numbers).
12. Get rid of the irritating pointer
During a presentation, it is very annoying to have the pointer (the little arrow) come on the screen while you are speaking. It causes movement on the screen and draws the audience attention from the presenter to the screen. The pointer comes on when the mouse is moved during the presentation. To prevent this from happening, after the Slide Show view has started, press the Ctrl-H key combination. This prevents mouse movement from showing the pointer. If you need to bring the pointer on screen after this, press the A key.
 13. Presenter view
PowerPoint has a great feature called Presenter View, which allows you the presenter to see a different view of the presentation from your audience. In Presenter View, your monitor shows not only the slides, but also your notes as well as the current elapsed time in the presentation. This makes giving a presentation far easier. To enable Presenter view, go to the Slide Show ribbon and check Use Presenter View. In that same section, you can also change the monitor which the presentation is shown on. (The Use Presenter View checkbox can only be checked if you already have a second monitor connected and enabled)
 14. Become a super-presenter with these short cuts!
Some of these may be obvious for many of you but I hope you find something new here! Once you get used to them, these tricks will save you a lot of time.
- Ctrl +A: Select all
- Ctrl+X, Ctrl+C, Ctrl+V: Cut, Copy and Paste the selected object (respectively). Works even better when you use it together with Alt+Tab.
- Ctrl+Z: Undo.
- Ctrl+B: Make the selected text bold.
- Ctrl+I: Make the selected text Italicized.
- Ctrl +T: PowerPoint will bring up a Font dialog box, where you can easily change your fonts, style, size, color effects, and color.
- Ctrl+H: Go to the next hidden slide
- Shft+F3: Whenever you change your mind about using upper case or lower case, (I do this all the time) use
- Shift+F3 to switch case from UPPER, lower, and Initial Caps.
- Ctrl+Home, Ctrl+End (Function+Home or Function+End in some machines): In Outline view, move to the top and bottom of the presentation, respectively. Within a slide, move to the top or bottom of the placeholder text. In slide show mode, move to first or last slide.
- Ctrl+S: Save a presentation.
- Ctrl+M : Insert a new slide. It is automatically copy the layout of the current slide.
- Ctrl+D: Make a duplicate of the selected slide (or selected object). This command is much faster than a copy and paste.
- F7: Check spelling, prevent embarrassment I love it!
- F5: Run a slide show.
- Page Down: In a slide show, move to the next slide.
- Page Up: In a slide show, move to the previous slide.
- Esc: In a slide show, press Esc to end the slide show.
- F6: Switch to the next pane (clockwise)
- ALT+SHIFT+ ARROW KEYS: Promote a paragraph / bullet point, demote a paragraph / bullet point, move a bullet point up or down.
- F4 or CTRL+Y: Repeat your last action
- CTRL+BACKSPACE : Delete a word
- CTRL+K: Insert a hyperlink
- Ctrl+Shift+>: Increase font size
- Ctrl+Shift+<: Decrease font size
- Ctrl+Spacebar: Remove formatting from selected text
I hope you could find something useful from my bag of PowerPoint tricks. Do let me know your favourite PowerPoint trick in the comments below.
Filed Under: Growth
|
|||||||||


awesome stuff! i also read the other article which is equally good. keep them coming….
Absolutely interesting stuff… Many of the tips esp. the B / W button and the Control+P tips are amazing.. thanks
This was quite an informative article. It sure had some pointers for me to keep in mind.
Many Thanks
Very cool. Thanks a lot.
Very good advice, I have always said that you are up there to tell a story, Powerpoint is just the pages…
Awesome! Shalu.
Very informative and i really enjoyed it.
Great tips !! Thanks.
If you find it difficult to remember those shortcuts, use your right click on your mouse while in slide show mode to see all these options in the form of menu. Click which is required for the moment and that’s it.
Cheers !
Nafees Ahmad
Now if I could just get the PhD’s to comprehend what the Slide Master and Handout Master is for.
I recommend articles on Peka Chuka powerpoint also.
Great tips – there were several that I never heard of and will certainly use in my next presentation. Thanks for sharing and I’ll definitely share it with my network!
Tom
Fantastic! I wish I had this 10 years ago. Thank you!
this was an extremely informative and useful article for me. Thank you so much for sharing these tips.
I am a powerpoint enthusiast. Love the stuff you came up with – especially the going back to a particular slide in the past and the hiding the pointer deal. Neat.
Jonathan, Vish, Divya, Natalia : many thanks!
Jack – absolutely right! you will enjoy ‘Avoiding death by powerpoint’ check it out here – https://tickledbylife.com/index.php/avoiding-death-by-powerpoint/
Kaushik – thanks
Nafees – thanks! that is useful
Mindthegap
Tom, Sperl, Ivy, Kiran – thanks!
Dear Shalu,
Absolutely amazing tips.
Thanks a million
Regards
Mobeen
thanks so much for these tips – I’ll have a go at some of them in tweaking my next presentation.
Some tips were new to me, thank you!
Minor typo: To insert the Trademark ™ symbol enter ™. –> enter ™.
Fantastic – I love all the practical tips (example, Shift-F3 to set the case on a selection). I’ve also heard of the 10-20-30 rule for presentations to avoid DBPPT (Death By PowerPoint):
- Use no more than 10 slides
- Present for no longer than 20 minutes
- Don’t use any font size lower than 30
I consider Garr Reynolds and Nancy Duarte my presentation “gurus”. They offer a lot of great advice on their blogs:
- Garr Reynolds (http://www.presentationzen.com)
- Nancy Duarte (http://blog.duarte.com)
Great presentation tips! Loved them all and there were many I hadn’t seen before. Here’s one more for you. In addition to turning graphics from bmps into jpegs, once you do so, right click on the first one in powerpoint. Select Format Picture. When the dialog box opens, select Compress and then click All pictures in document. This will reduce the size of your presentaiton significantly.
Thanks again and keep all the tips coming.
Great info. I especially like your suggestion to have more images, less text and larger type, and will put your tips to good use today!
Thanks.
Great article. Many thx. fyi, discovered your article through a linkedin group on Web 2.0.
Shalu!!
Its really amzain!! Will surely use n try ur tips. The Pen pointer stuff is cool..
Expecting more..
Regards,
Komal
Extremely well written, useful and engaging! Its been a long time since I read a good PPT ‘tips’ article. Thank you and Bravo!
Very useful and practical information. Will definitely benefit all the readers of this article. Must read for all professionals using power point for making a difference.
Keep it up!!!
Excellent material. I work with college instructors to assist them in using technology. Your two PowerPoint articles will be included from now on. Thanks!
I must admit……. no amount of MS-tip could make me more adept …… than scanning this article…….
Was indeed a ready reckoner. https://tickledbylife.com/site/wp-includes/images/smilies/icon_biggrin.gif
Nice and helpful article.
For switching between slides during presentation, making the slide number as URL/Hyperlink will do the trick as well. For both forward and backward jumps.
Marvellous , simply awesome . What bag of tricks . Great I salute .
Great. Simple Fun.
And if you ever need more proof why we need to keep focused, watch this…
Hey many many thanks to you for such a wonderful tips. awesome man.
Regards,
Rajesh
Hi Shalu,
Thanks for the great tips. Loved the F3ad pen pointer tips. Great bag of tricks, indeed!
Bhanu
Dear Shalu,
Thanks a ton- pretty useful for my work.
Regards,
Shruti.
Thanks for sharing awesome ideas. The smart tips will be really helpful for experts and beginners alike. Can you please also send some good tips on MS Excel. Excel and Powerpoint are two applications which are widely used in all area.